


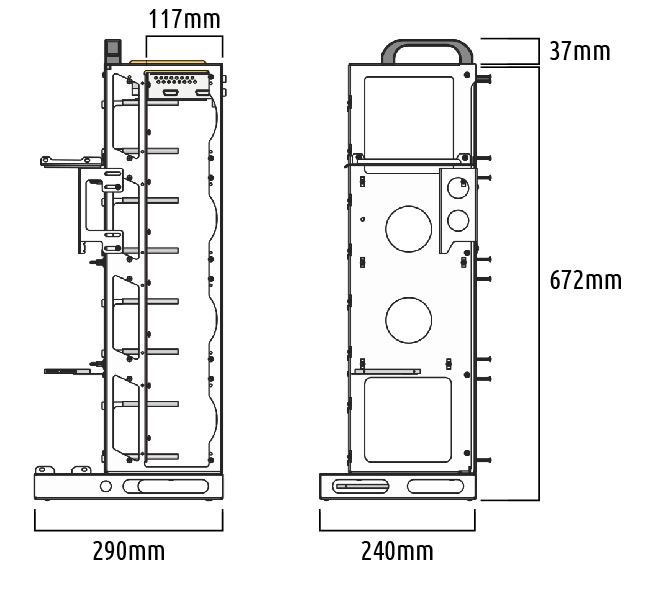
Weight: 3,5 kg
Dimensions: 29×24 cm - Height 71 cm

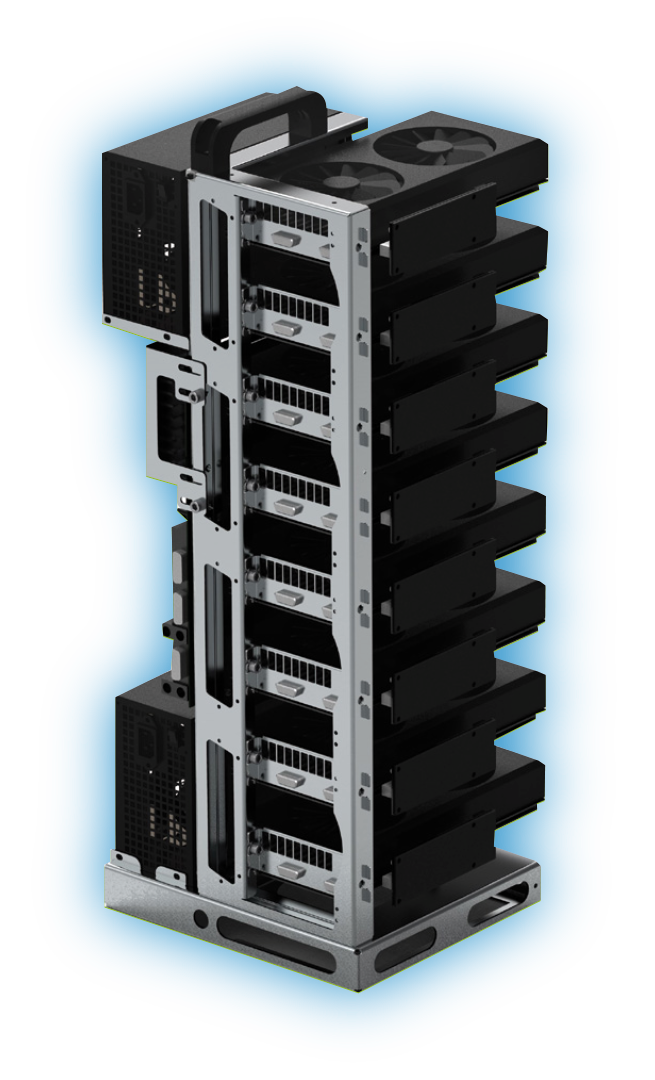
8x GPU support plates

1x SSD or 2.5’’ HDD support
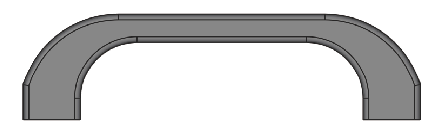
1x Handle

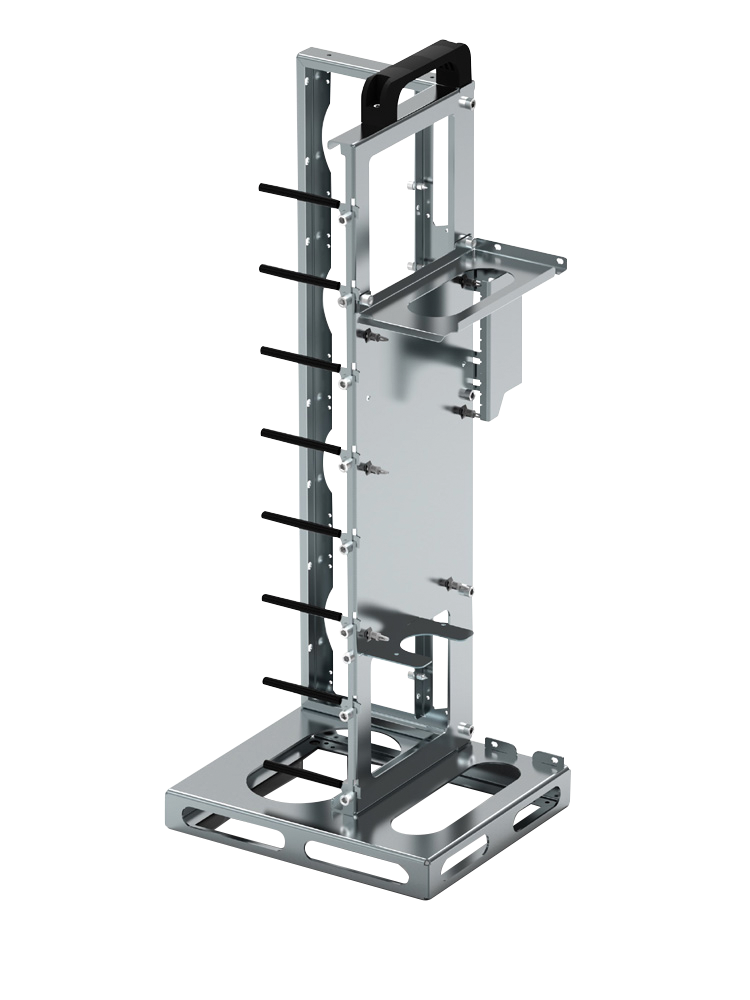
8x high temperature tubes
2x PSU fixing plates
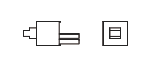
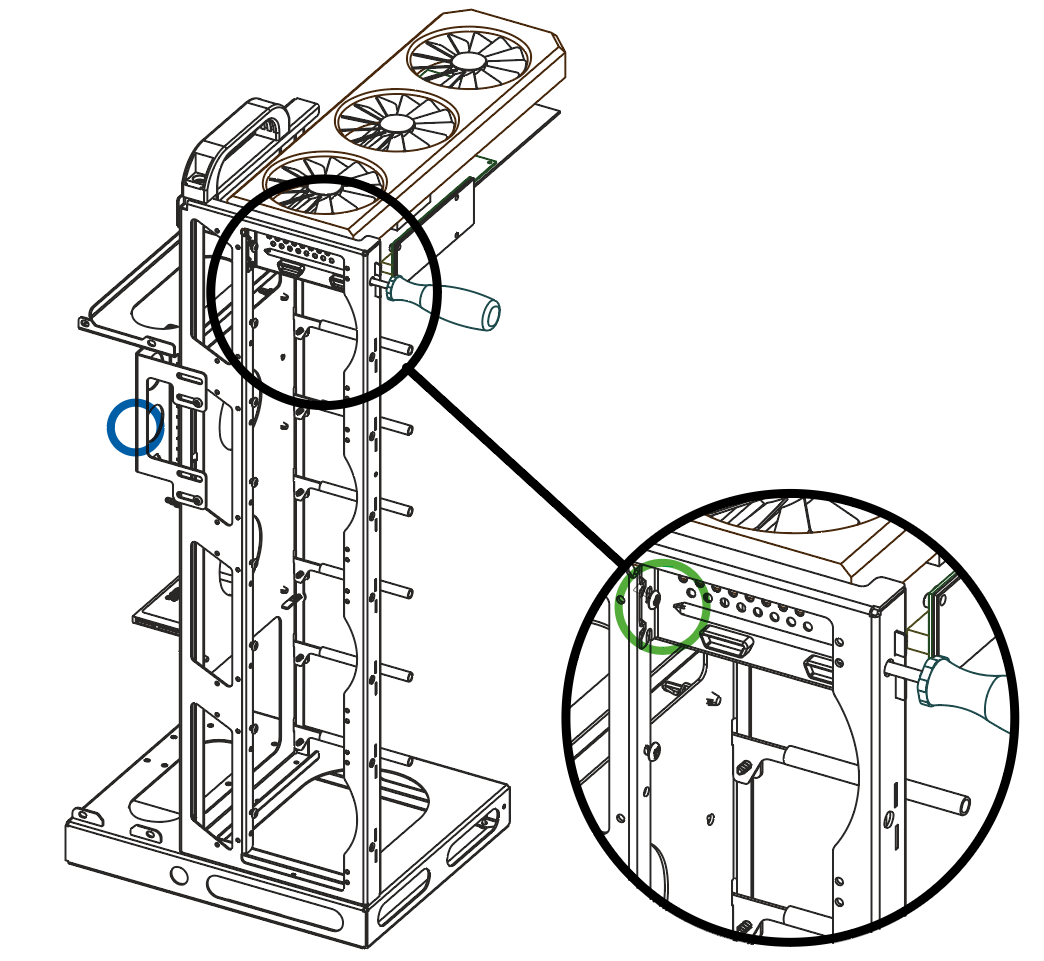
1x PC MB on/off switch
6x LCBS-6-01 PCB holder
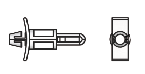
4x base snap rivets +8x optional for GPU lock
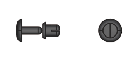
2x M6 screws
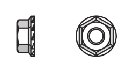
2x M6 nuts

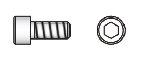
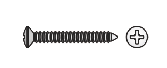
31x Trilobular self-tapping screws
16x AF_3.9x32 screws for optionals 12cm or 14cm Fans
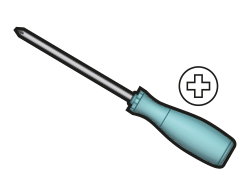
YOU NEED ALSO A SCREWDRIVER
(not included)

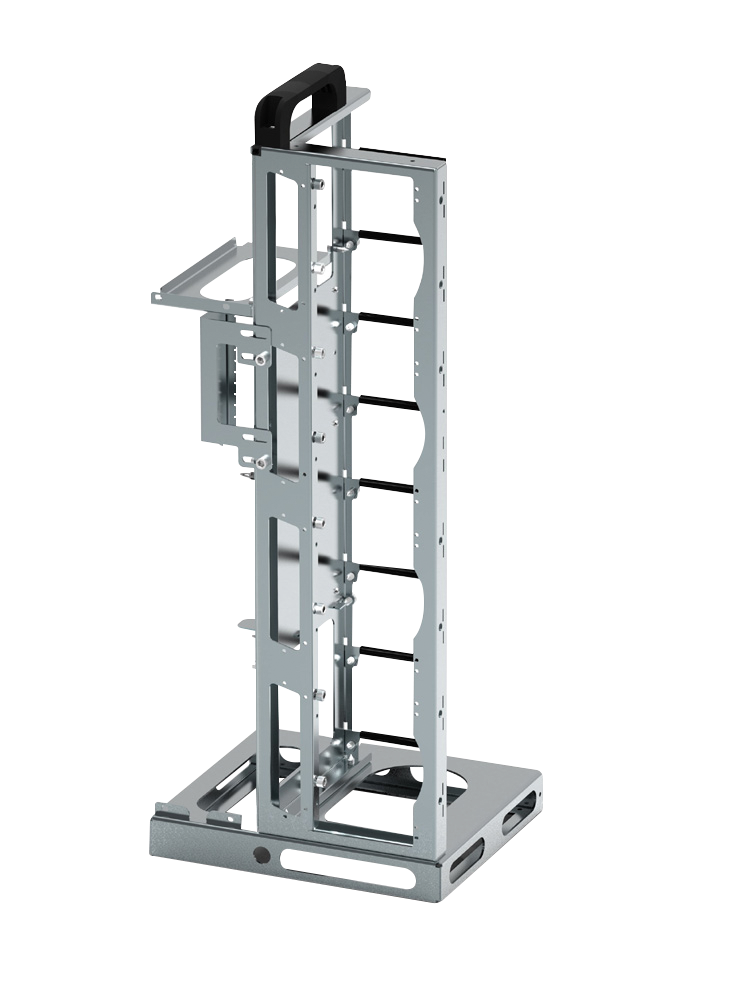
Put the base frame and the front panel in one plane
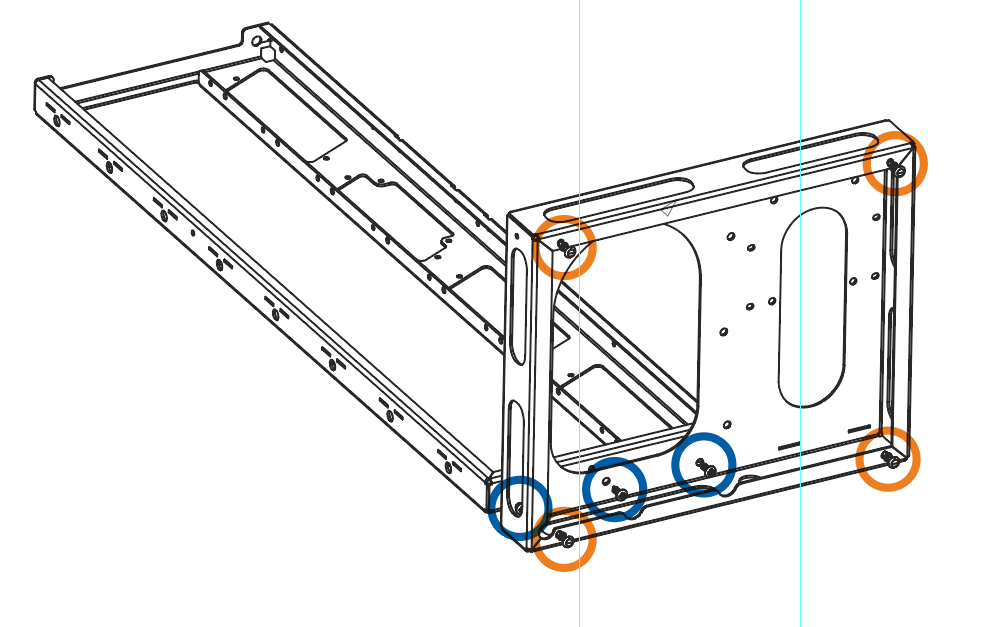
FRONT PANEL FRAME
1)
Insert 4 base plastic rivet foot
2)
Fix 3 screw driver (torque max 2.5 Nm)
BASE PANEL FRAME
Note: The screws are self-forming and create the thread in the sheet metal. It may be helpful at times to
lightly lubricate the holes or self-forming trilobal screws, using WD40 for example.

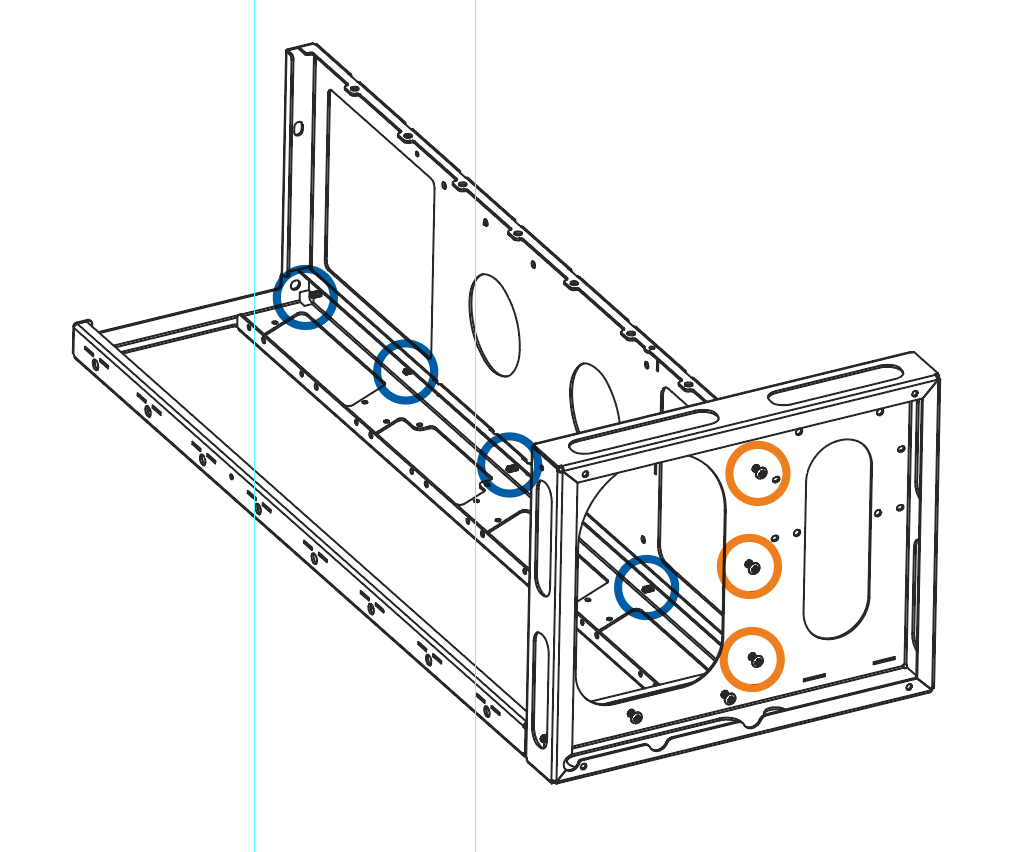
Fix the motherboard side
(torque max 2.5 Nm)
1) Fix the first 3 screws
2) Setting up the frame and fix the other 5 screws
MOTHERBOARD SIDE
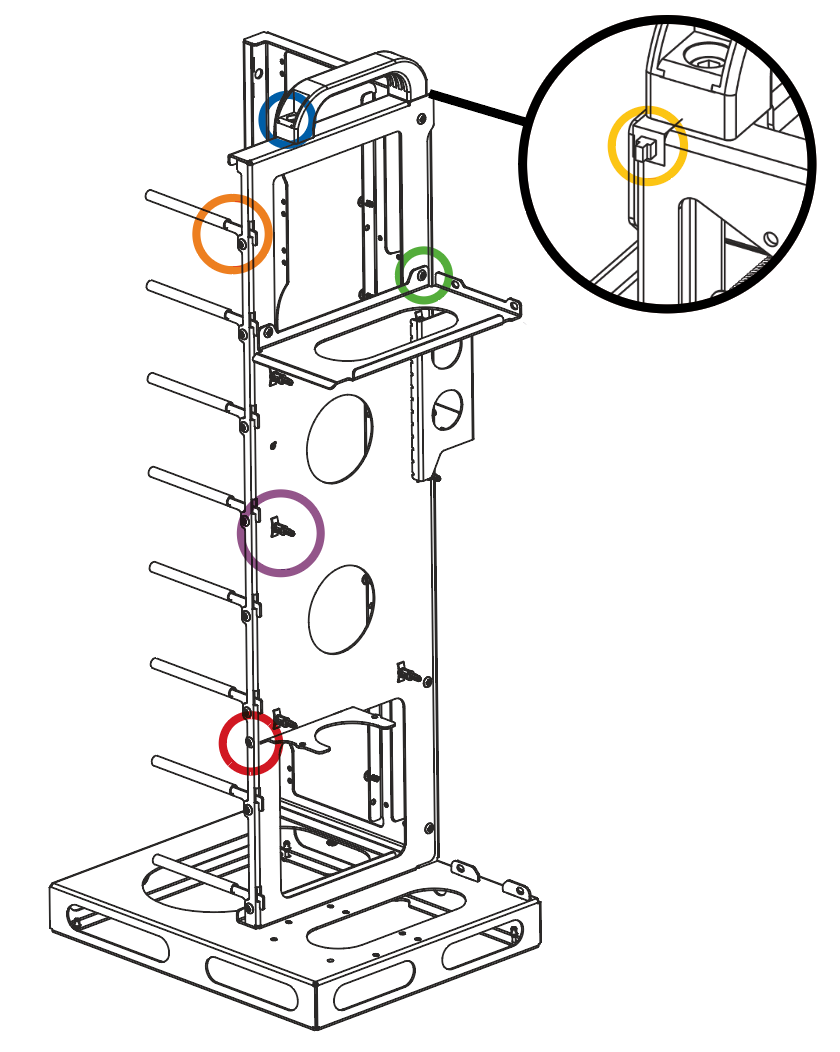

1) Attach the GPU support mounts
you need and fix with screw and
then mount the plastic tube for
protect backplate of GPU.
2) Before fixing the handle,
insert the switch into the space
designated for it.
3) Fix the handle with 2 M6 screws
and 2 nuts (torque max 9 Nm)
4) Fix the second PSU bracket.
5)
Fix the second PSU bracket.
6) Fix the second PSU bracket.
An additional 2.5-inch hard disk
or even a 3.5-inch hard disk can be
installed under the base

1) After mounting the motherboard
and mini PCI risers, you may attach the
Riser Bracket to hold them in place
2) Lock the GPU with a Trilobular
self-tapping screws or with
a plastic snap rivets.
N.B. To fix the GPU screw you need to use
a Phillips screwdriver with a shank
length of at least 12 cm
created with
Website Builder Software .